
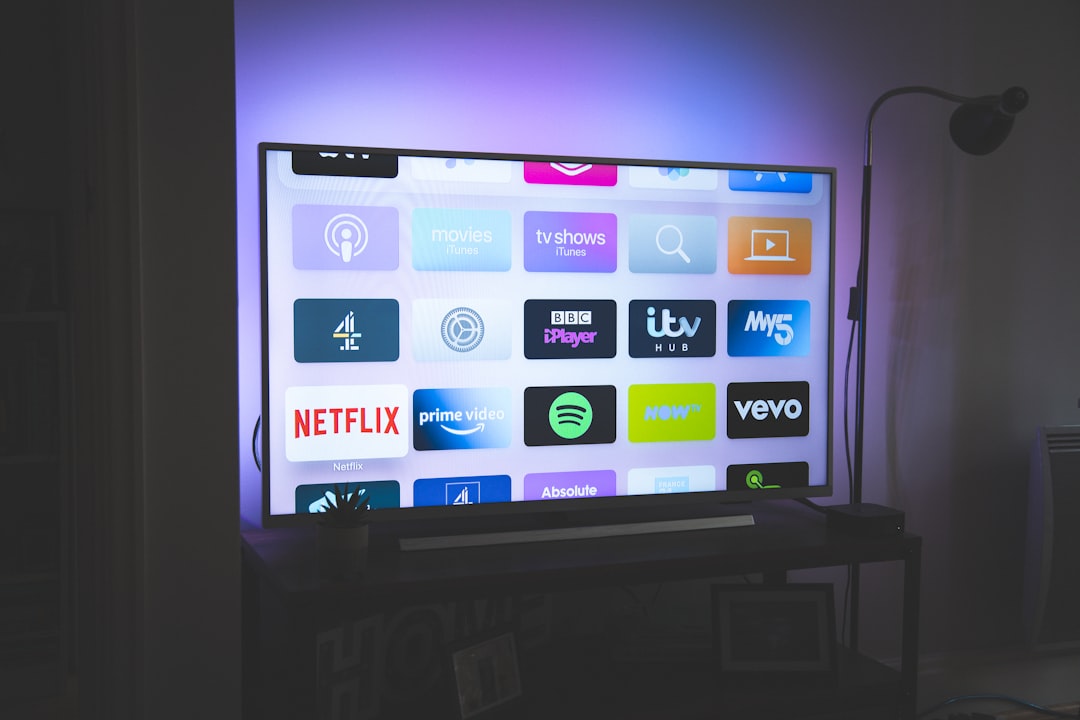
If your IPTV streams keep buffering, getting blocked, or you simply want more privacy while watching, setting up a VPN is one of the smartest moves you can make. A VPN routes your traffic through a secure server in another location, hiding your activity from your ISP and bypassing regional restrictions. The good news is that the setup process is simpler than most people expect — and you don’t need to be technical to get it right.
Why You Need a VPN for IPTV
Many ISPs (Internet Service Providers) throttle streaming traffic, especially during peak hours. When they detect high-bandwidth activity like IPTV, they intentionally slow your connection down. A VPN encrypts your traffic so your ISP can’t see what you’re doing — which often results in smoother, faster streams.
Beyond speed, there’s the issue of geo-restrictions. Certain IPTV channels and playlists are only licensed for specific regions. Connecting through a VPN server in the right country lets you access content that would otherwise be unavailable. If you’re unsure whether your current playlist is even working, run it through an M3U playlist checker first to rule out broken links before assuming it’s a location issue.
What to Look for in a VPN for IPTV
Not every VPN is built for streaming. Here’s what actually matters:
- Fast servers: You need consistent speeds above 25 Mbps for HD streaming. Look for VPNs with a large server network.
- No-logs policy: A reputable VPN shouldn’t store records of your activity.
- Device compatibility: You’ll want apps for Android, Firestick, Smart TV, or whatever device you use for IPTV.
- Kill switch: This cuts your internet if the VPN drops, preventing accidental exposure.
- Reliable customer support: Useful when something doesn’t work as expected.
For a deeper breakdown of which providers perform best, check out our guide to the best VPN for IPTV.
Step-by-Step: How to Set Up a VPN for IPTV
Step 1 — Choose and Install Your VPN
Pick a VPN that supports your streaming device. Download the app from the official app store or the VPN provider’s website. NordVPN (try it free for 30 days) is a popular choice for IPTV users thanks to its fast server network, strong encryption, and dedicated streaming-optimized servers.
Step 2 — Log In and Open the App
After installing, open the VPN app and sign in with your account credentials. Most apps have a clean dashboard with a big connect button and a server list.
Step 3 — Choose the Right Server Location
Select a server in the country where your IPTV content is licensed. For example, if you’re watching UK channels, connect to a UK server. If you’re in the UK trying to access US content, pick a US server. Avoid servers that are geographically far from you unless necessary — distance can add latency.
Step 4 — Enable the Kill Switch (Recommended)
Before you start streaming, go into the VPN app’s settings and turn on the kill switch. This is a small setting that makes a big difference — if your VPN connection drops mid-stream, the kill switch prevents your real IP address from being exposed.
Step 5 — Open Your IPTV App and Start Streaming
With the VPN connected, open your IPTV player and load your playlist. You should notice fewer buffering issues and access to previously restricted channels. If streams still aren’t loading, try switching to a different server in the same region — some servers perform better than others depending on the time of day.
Troubleshooting Common Issues
Streams still buffering? Try a server closer to your physical location, or switch to the VPN’s UDP protocol if you have the option — it’s faster for streaming than TCP.
IPTV app not connecting at all? Some IPTV services detect VPN usage and block known VPN IP ranges. Try the VPN’s obfuscated servers if available, or switch server locations.
Not sure if your playlist itself is broken? The issue might have nothing to do with the VPN. Use an M3U playlist checker to scan your URLs and identify dead or expired streams before troubleshooting further.
Is Using a VPN for IPTV Legal?
Using a VPN itself is legal in most countries, including the US and UK. What matters is what content you’re accessing. A VPN is a tool — it’s the source of the IPTV streams that determines whether you’re in legal territory. Always use licensed IPTV services and make sure your content subscriptions are legitimate.
Ready to Watch? Here’s What to Do Next
Setting up a VPN for IPTV takes less than ten minutes and the difference in streaming quality can be significant — especially if your ISP has been throttling your connection. Install a reliable VPN, pick a fast server in the right region, and turn on the kill switch. That’s genuinely all it takes. If you’re still having issues after that, the problem is likely with the playlist itself, not your network — so check those stream URLs before giving up.
Photo by Nicolas J Leclercq on Unsplash